
🎉 Introduction
This Christmas Fudge is rich, creamy, ultra-smooth, and bursting with festive color. Made with sweetened condensed milk, chocolate chips, and holiday sprinkles, it’s one of the easiest desserts you can prepare during the holiday season. No thermometer, no complicated steps, no baking — just melt, mix, swirl, and chill. Every bite is decadently chocolatey, slightly chewy, and full of Christmas cheer. Perfect for gifting, cookie boxes, parties, or snacking straight from the fridge!
🛒 Ingredients
Base Ingredients
- 14 oz Sweetened condensed milk
- 6 oz Semi-sweet chocolate chips
- 6 oz White chocolate chips
- 2 teaspoons Vanilla extract
Mix-Ins & Toppings
- 2 tablespoons Christmas sprinkles
🧰 Equipment Needed
- Microwave-safe bowls OR stovetop pot
- Rubber spatula
- 8×8 or 9×9 baking pan
- Parchment paper
- Small whisk
- Refrigerator space
- Knife for cutting
- Measuring spoons
👩🍳 Directions (Form-Steps Style)
🔹 PART 1 — PREP YOUR PAN
Step 1 — Line the Pan
- Line your baking pan with parchment paper.
- Leave extra overhang on the sides to lift the fudge out easily.
- Set aside.
A properly lined pan ensures clean edges and easy removal.
🔹 PART 2 — MAKE THE CHOCOLATE FUDGE LAYER
Step 2 — Melt the Semi-Sweet Chocolate Layer
Option A — Microwave
- Add semi-sweet chocolate chips + half the condensed milk to a bowl.
- Heat in 20-second intervals, stirring each time until fully smooth.
Option B — Stovetop
- Place ingredients in a pot over LOW heat.
- Stir until melted and silky.
The mixture should be thick, glossy, and pudding-like.
Step 3 — Add Vanilla
- Add 1 teaspoon vanilla extract to the chocolate mixture.
- Stir until fully incorporated.
Step 4 — Spread the Chocolate Layer
- Pour chocolate fudge into the lined pan.
- Smooth evenly with a spatula.
- Set aside while preparing the next layer.
🔹 PART 3 — MAKE THE WHITE CHOCOLATE FUDGE LAYER
Step 5 — Melt the White Chocolate Layer
- Add white chocolate chips + the remaining sweetened condensed milk to a new bowl.
- Microwave or melt on stovetop using the same method as above.
White chocolate melts faster — stir often to avoid burning.
Step 6 — Add Vanilla
- Add the remaining 1 teaspoon vanilla to the white chocolate mixture.
🔹 PART 4 — ASSEMBLE THE CHRISTMAS FUDGE
Step 7 — Pour White Layer Over Chocolate Layer
- Gently spoon the white fudge over the chocolate base.
- Spread evenly without dragging the bottom layer.
Step 8 — Swirl for Christmas Magic
- Use a knife or skewer to gently swirl the two layers together.
- Long slow swirls look the prettiest.
- Do NOT overmix or colors will blend instead of swirl.
Step 9 — Decorate
- Sprinkle Christmas sprinkles generously over the top.
- Press them gently into the surface so they stick.
This gives the fudge that classic Christmas look.
🔹 PART 5 — CHILL & CUT
Step 10 — Chill Until Set
- Refrigerate for 2–3 hours or until firm.
Step 11 — Slice Into Squares
- Lift fudge out using parchment overhang.
- Place on a cutting board.
- Slice into neat squares using a sharp, warm knife.
🍽️ Servings & Timing
- Makes: 25–36 fudge squares
- Prep Time: 10 minutes
- Chill Time: 2–3 hours
- Total Time: ~3 hours
🧊 Storage
Room Temperature
- Store airtight for 3 days.
Refrigerator
- Lasts 2 weeks easily.
Freezer
- Freeze up to 2 months.
- Wrap squares individually for best quality.
🥄 Variations
1. Triple Chocolate Christmas Fudge
Add a third swirl using milk chocolate.
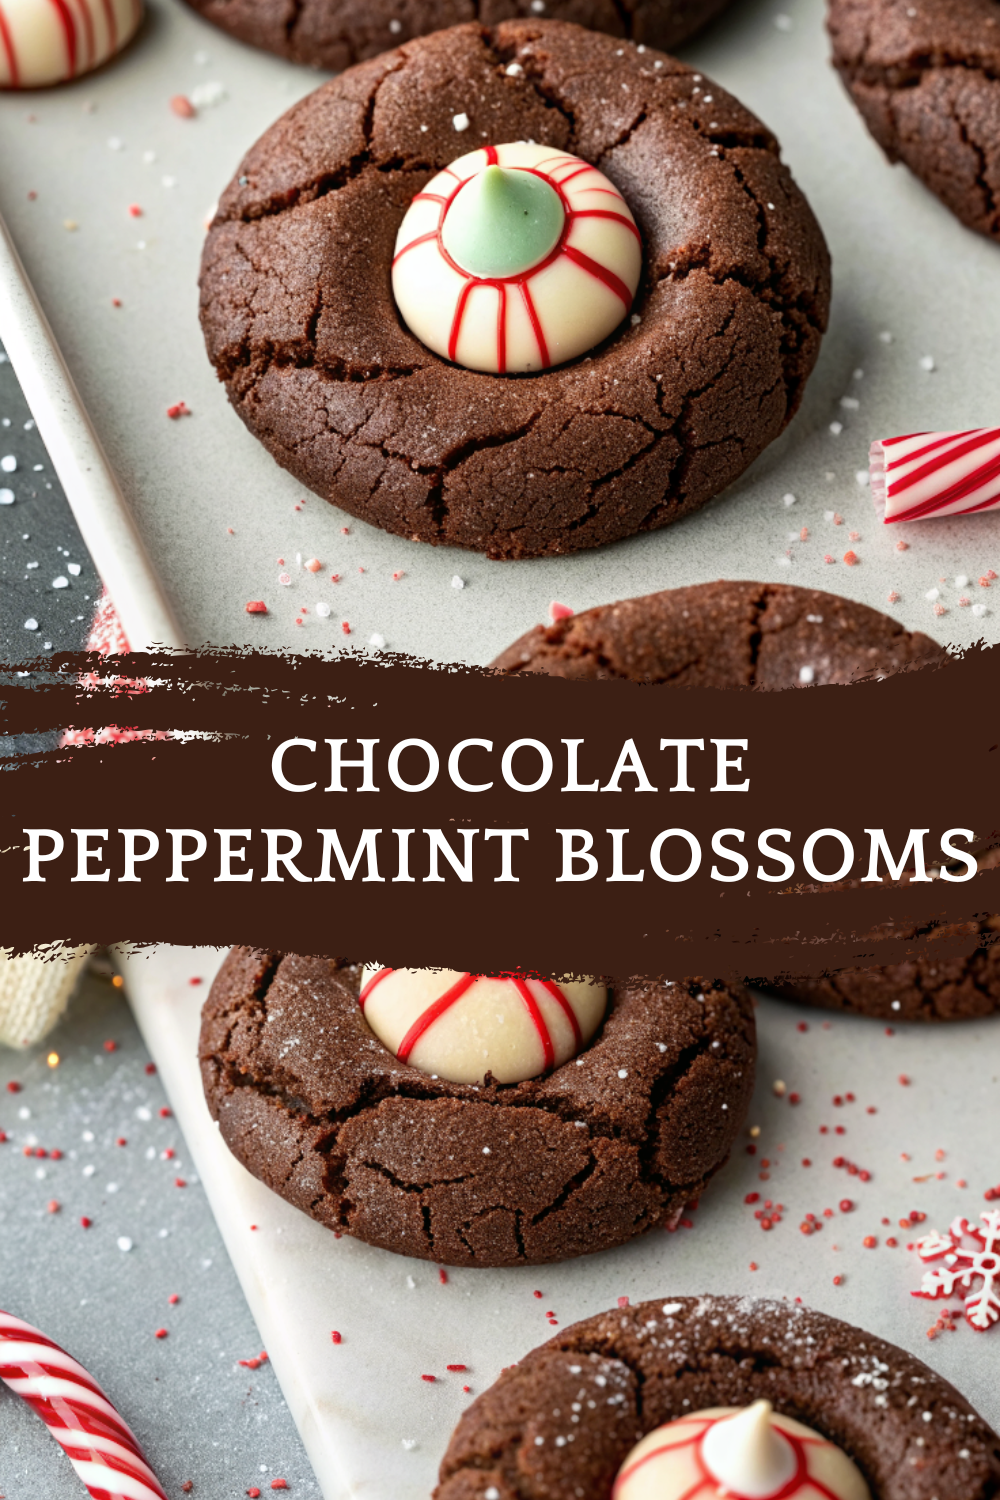
2. Peppermint Christmas Fudge
Add crushed candy canes on top.
3. White Chocolate Cranberry Fudge
Fold dried cranberries into the white layer.
4. Cookies & Cream Fudge
Stir crushed sandwich cookies into the white fudge.
5. Red & Green Swirl Fudge
Tint the white fudge with red or green food coloring.
6. Salted Christmas Fudge
Add sea salt flakes on top for contrast.
❓ 10 FAQs
1. Why is my fudge grainy?
You overheated the chocolate — always melt slowly.
2. Why didn’t it set?
It needs more chilling time — refrigerate longer.
3. Can I use only one chocolate?
Yes — use all semi-sweet or all white chocolate.
4. Can I add nuts?
Yes — almonds, pistachios, or walnuts work well.
5. Can kids eat this?
Yes — no alcohol, totally kid-friendly.
6. Can I microwave both layers together?
No — flavors and textures work best separately.
7. Why are my sprinkles melting?
Use crunchy sprinkles, not soft ones.
8. Can I double the recipe?
Yes — use a 9×13 pan.
9. How do I cut clean squares?
Dip your knife in hot water, wipe, and slice.
10. Should fudge be refrigerated after cutting?
Yes — keeps texture perfect.
🏁 Conclusion
This Christmas Fudge is creamy, festive, and incredibly easy to make. With rich chocolate flavor, beautiful swirls, and colorful holiday sprinkles, it’s a dessert that looks stunning and tastes even better. Whether you’re giving edible gifts, filling cookie boxes, or making a simple holiday treat, this fudge delivers perfect sweetness and silky-smooth texture every time. A true Christmas classic!
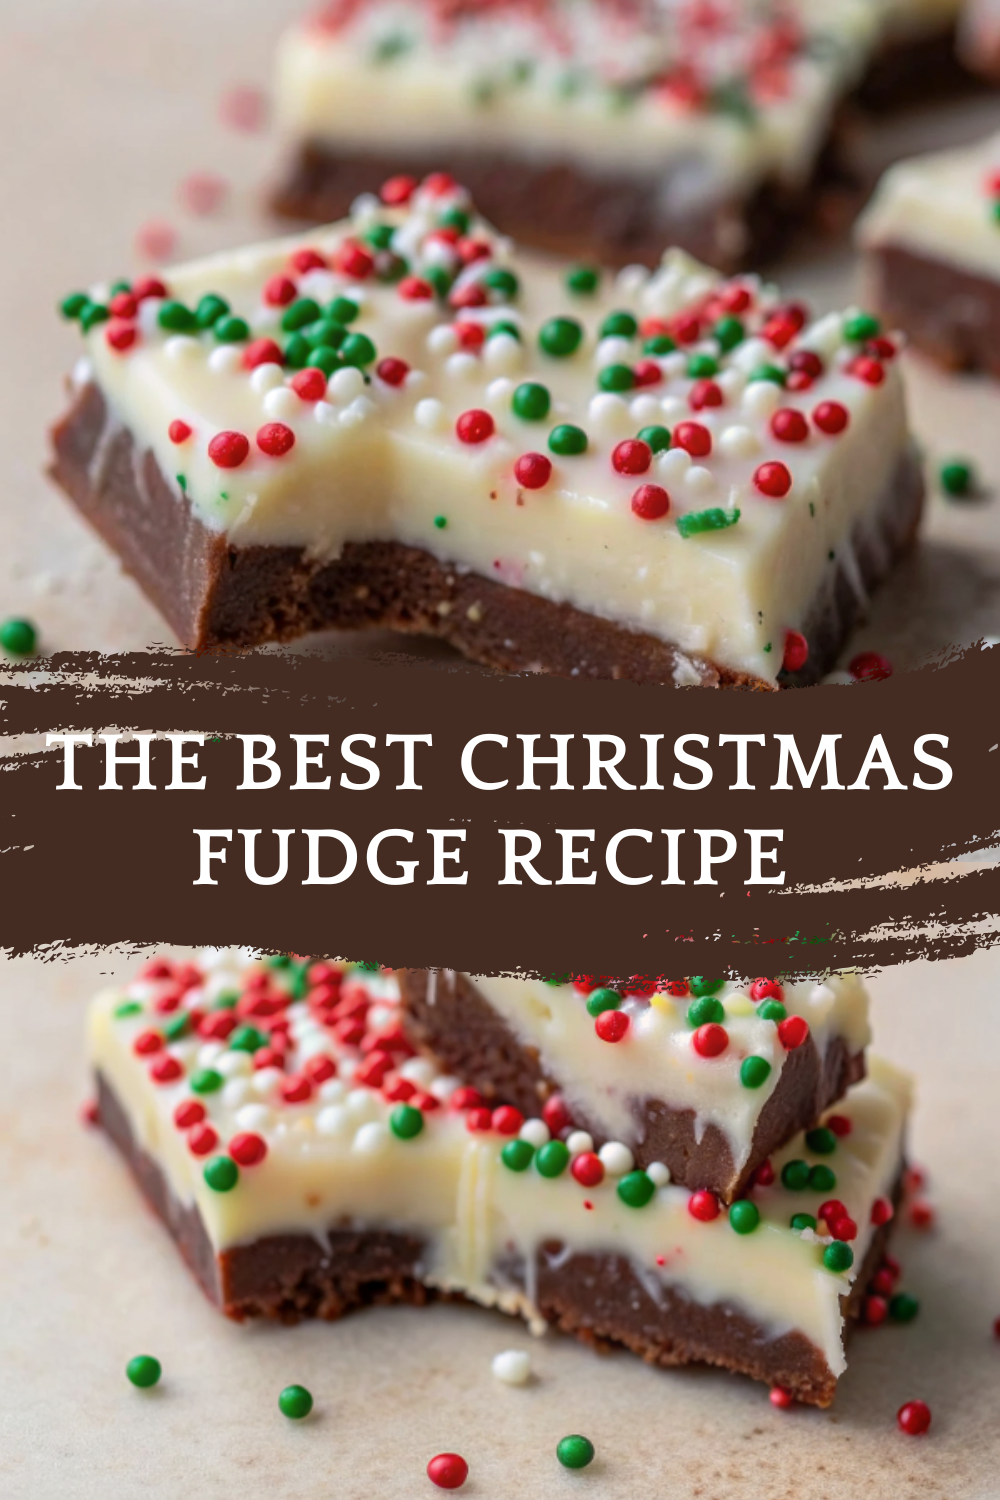
The Best Christmas Fudge Recipe – Creamy, Festive & Foolproof
Ingredients
✨ Kitchen Essentials You’ll Love
Quick picks I trust for better results, faster prep, and easier cleanup.
-
🍳View ↗
Lodge Seasoned Cast Iron Skillet
-
⚡View ↗
Instant Pot Duo Plus 9-in-1 Electric
-
🔥View ↗
CHEFMAN Digital Air Fryer XL 10L
Disclosure: As an Amazon Associate, I earn from qualifying purchases at no extra cost to you.
Equipment
Method
- 🔹 PART 1 — PREP YOUR PAN
- Line your baking pan with parchment paper.
- Leave extra overhang on the sides to lift the fudge out easily.
- Set aside.
- A properly lined pan ensures clean edges and easy removal.
- 🔹 PART 2 — MAKE THE CHOCOLATE FUDGE LAYER
- Option A — Microwave
- Add semi-sweet chocolate chips + half the condensed milk to a bowl.
- Heat in 20-second intervals, stirring each time until fully smooth.
- Option B — Stovetop
- Place ingredients in a pot over LOW heat.
- Stir until melted and silky.
- The mixture should be thick, glossy, and pudding-like.
- Add 1 teaspoon vanilla extract to the chocolate mixture.
- Stir until fully incorporated.
- Pour chocolate fudge into the lined pan.
- Smooth evenly with a spatula.
- Set aside while preparing the next layer.
- 🔹 PART 3 — MAKE THE WHITE CHOCOLATE FUDGE LAYER
- Add white chocolate chips + the remaining sweetened condensed milk to a new bowl.
- Microwave or melt on stovetop using the same method as above.
- White chocolate melts faster — stir often to avoid burning.
- Add the remaining 1 teaspoon vanilla to the white chocolate mixture.
- 🔹 PART 4 — ASSEMBLE THE CHRISTMAS FUDGE
- Gently spoon the white fudge over the chocolate base.
- Spread evenly without dragging the bottom layer.
- Use a knife or skewer to gently swirl the two layers together.
- Long slow swirls look the prettiest.
- Do NOT overmix or colors will blend instead of swirl.
- Sprinkle Christmas sprinkles generously over the top.
- Press them gently into the surface so they stick.
- This gives the fudge that classic Christmas look.
- 🔹 PART 5 — CHILL & CUT
- Refrigerate for 2–3 hours or until firm.
- Lift fudge out using parchment overhang.
- Place on a cutting board.
- Slice into neat squares using a sharp, warm knife.
Notes
Room Temperature Store airtight for 3 days. Refrigerator Lasts 2 weeks easily. Freezer Freeze up to 2 months. Wrap squares individually for best quality. 🥄 Variations
1. Triple Chocolate Christmas Fudge Add a third swirl using milk chocolate. 2. Peppermint Christmas Fudge Add crushed candy canes on top. 3. White Chocolate Cranberry Fudge Fold dried cranberries into the white layer. 4. Cookies & Cream Fudge Stir crushed sandwich cookies into the white fudge. 5. Red & Green Swirl Fudge Tint the white fudge with red or green food coloring. 6. Salted Christmas Fudge Add sea salt flakes on top for contrast. ❓ 10 FAQs
1. Why is my fudge grainy? You overheated the chocolate — always melt slowly. 2. Why didn’t it set? It needs more chilling time — refrigerate longer. 3. Can I use only one chocolate? Yes — use all semi-sweet or all white chocolate. 4. Can I add nuts? Yes — almonds, pistachios, or walnuts work well. 5. Can kids eat this? Yes — no alcohol, totally kid-friendly. 6. Can I microwave both layers together? No — flavors and textures work best separately. 7. Why are my sprinkles melting? Use crunchy sprinkles, not soft ones. 8. Can I double the recipe? Yes — use a 9×13 pan. 9. How do I cut clean squares? Dip your knife in hot water, wipe, and slice. 10. Should fudge be refrigerated after cutting? Yes — keeps texture perfect. 🏁 Conclusion This Christmas Fudge is creamy, festive, and incredibly easy to make. With rich chocolate flavor, beautiful swirls, and colorful holiday sprinkles, it’s a dessert that looks stunning and tastes even better. Whether you’re giving edible gifts, filling cookie boxes, or making a simple holiday treat, this fudge delivers perfect sweetness and silky-smooth texture every time. A true Christmas classic!


Leave a Reply