🎉 Introduction
When autumn rolls around and pumpkins take center stage, most of us think about pies, soups, and lattes. But there’s one hidden treasure many overlook—the pumpkin seeds! Instead of tossing them away after carving or cooking pumpkins, you can transform them into a delicious, crunchy, and healthy snack with just a few ingredients.
These baked pumpkin seeds are seasoned with garlic powder, salt, and a touch of olive oil, then roasted until perfectly crisp. They’re not only addictive but also packed with nutrition. Pumpkin seeds are rich in protein, magnesium, healthy fats, and antioxidants. That makes them a fantastic snack to munch on between meals, sprinkle on salads, or even use as a topping for soups.
The best part? They’re incredibly simple to make. With minimal equipment and a short ingredient list, you can whip up a batch in less than an hour. This recipe is proof that sometimes the simplest things in the kitchen are also the most satisfying.
🧰 Equipment Needed
To prepare your pumpkin seeds, you’ll need:
- Large baking sheet
- Parchment paper (optional, for easier cleanup)
- Large bowl
- Colander (for rinsing seeds)
- Spoon (to scoop seeds from pumpkin)
- Paper towels or clean kitchen towel (for drying seeds)
- Measuring spoons
- Spatula
🛒 Ingredients
- 1 pumpkin (medium-sized, seeds scooped out and cleaned)
- 1 tbsp olive oil
- 1 tbsp garlic powder
- 2 tbsp salt (divided)
- Cooking spray (for greasing the baking sheet)
👩🍳 Directions
Step 1: Scoop & Clean
- Cut open the pumpkin and scoop out the seeds with a spoon.
- Place seeds in a colander and rinse under cold water to remove pulp and stringy bits.
Step 2: Soak for Flavor
- Place seeds in a bowl of salted water (1 tbsp salt + 2 cups warm water).
- Let them soak for 15–20 minutes. This helps infuse flavor and soften the outer shell.
Step 3: Dry the Seeds
- Drain seeds and spread them on a paper towel.
- Pat dry thoroughly—moisture prevents crispness.
Step 4: Season
- Transfer seeds to a large bowl. Toss with olive oil, garlic powder, and the remaining 1 tbsp salt until evenly coated.
Step 5: Bake
- Preheat oven to 325°F (165°C).
- Line baking sheet with parchment paper and lightly coat with cooking spray.
- Spread seeds in a single layer.
- Bake for 20–30 minutes, stirring halfway through, until golden brown and crunchy.
Step 6: Cool & Enjoy
- Remove from oven and let cool for 10 minutes.
- Enjoy as a snack, or store for later.
🍽️ Servings & Timing
- Servings: About 2 cups of roasted seeds
- Prep Time: 15 minutes
- Soak Time: 20 minutes
- Baking Time: 25 minutes
- Total Time: ~1 hour
🧊 Storage & Reheating
- Room Temperature: Store cooled seeds in an airtight container for up to 1 week.
- Refrigerator: Keeps fresh for 2 weeks in a sealed jar or container.
- Freezer: Store for up to 2 months in a freezer-safe bag.
- Reheating: Re-crisp in the oven at 300°F for 5 minutes.
🥄 Variations
- Sweet Pumpkin Seeds: Swap garlic powder for cinnamon and toss with a little brown sugar.
- Spicy Kick: Add cayenne pepper or chili powder before baking.
- Herb-Infused: Mix in dried rosemary, thyme, or oregano for an herby twist.
- Cheesy Flavor: Sprinkle with nutritional yeast or Parmesan cheese before baking.
- Asian-Inspired: Toss with soy sauce and sesame seeds for a savory crunch.
❓ 10 FAQs
1. Can I use seeds from any type of pumpkin?
Yes! Sugar pumpkins and carving pumpkins both work, but smaller pumpkin seeds are usually more tender.
2. Do I need to peel the seeds?
No, the outer shell becomes crispy when baked and is perfectly edible.
3. Can I skip soaking the seeds?
Yes, but soaking helps infuse flavor and soften the shells.
4. Can I bake them at a higher temperature?
You can, but lower heat (325°F) ensures even roasting without burning.
5. How do I know when the seeds are done?
They should be golden brown and crunchy when cooled.
6. Can I use butter instead of olive oil?
Yes, melted butter adds richness but may shorten storage life.
7. Can I use pumpkin seeds straight from the store?
Yes—store-bought raw pumpkin seeds work fine with the same method.
8. Can I reduce the salt?
Definitely. Adjust seasoning to suit your taste.
9. Are baked pumpkin seeds healthy?
Yes! They’re full of protein, fiber, and essential minerals.
10. How can I make them extra crispy?
Make sure seeds are completely dry before seasoning and spread them evenly on the baking sheet.
🏁 Conclusion
These mouth-watering baked pumpkin seeds are proof that delicious snacks don’t have to be complicated. With just a few simple ingredients, you can turn what many people throw away into a nutritious, crunchy, and flavorful treat. Perfect for snacking, gifting, or topping salads and soups, they’re versatile and addictive.
Once you try this recipe, you’ll never look at pumpkin seeds the same way again. Instead of discarding them, you’ll be excited to roast a fresh batch whenever pumpkins are in season.
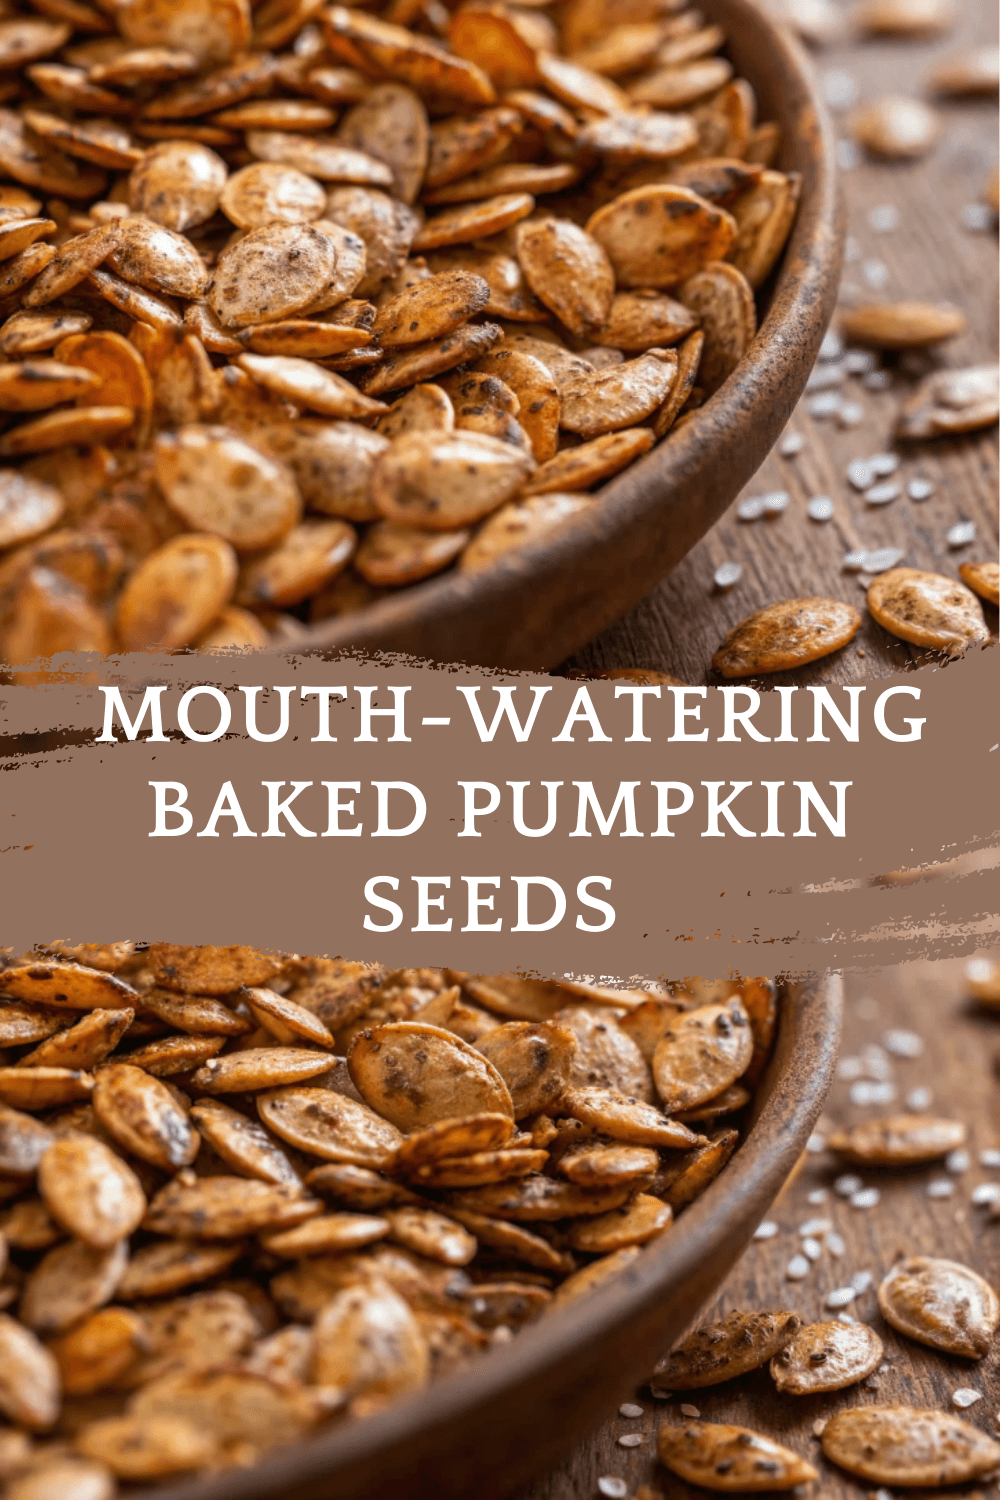
Mouth-Watering Baked Pumpkin Seeds – A Crunchy, Healthy Snack
Ingredients
Equipment
Method
- Cut open the pumpkin and scoop out the seeds with a spoon.
- Place seeds in a colander and rinse under cold water to remove pulp and stringy bits.
- Place seeds in a bowl of salted water (1 tbsp salt + 2 cups warm water).
- Let them soak for 15–20 minutes. This helps infuse flavor and soften the outer shell.
- Drain seeds and spread them on a paper towel.
- Pat dry thoroughly—moisture prevents crispness.
- Transfer seeds to a large bowl. Toss with olive oil, garlic powder, and the remaining 1 tbsp salt until evenly coated.
- Preheat oven to 325°F (165°C).
- Line baking sheet with parchment paper and lightly coat with cooking spray.
- Spread seeds in a single layer.
- Bake for 20–30 minutes, stirring halfway through, until golden brown and crunchy.
- Remove from oven and let cool for 10 minutes.
- Enjoy as a snack, or store for later.
Notes
Yes! Sugar pumpkins and carving pumpkins both work, but smaller pumpkin seeds are usually more tender. 2. Do I need to peel the seeds?
No, the outer shell becomes crispy when baked and is perfectly edible. 3. Can I skip soaking the seeds?
Yes, but soaking helps infuse flavor and soften the shells. 4. Can I bake them at a higher temperature?
You can, but lower heat (325°F) ensures even roasting without burning. 5. How do I know when the seeds are done?
They should be golden brown and crunchy when cooled. 6. Can I use butter instead of olive oil?
Yes, melted butter adds richness but may shorten storage life. 7. Can I use pumpkin seeds straight from the store?
Yes—store-bought raw pumpkin seeds work fine with the same method. 8. Can I reduce the salt?
Definitely. Adjust seasoning to suit your taste. 9. Are baked pumpkin seeds healthy?
Yes! They’re full of protein, fiber, and essential minerals. 10. How can I make them extra crispy?
Make sure seeds are completely dry before seasoning and spread them evenly on the baking sheet. 🏁 Conclusion These mouth-watering baked pumpkin seeds are proof that delicious snacks don’t have to be complicated. With just a few simple ingredients, you can turn what many people throw away into a nutritious, crunchy, and flavorful treat. Perfect for snacking, gifting, or topping salads and soups, they’re versatile and addictive. Once you try this recipe, you’ll never look at pumpkin seeds the same way again. Instead of discarding them, you’ll be excited to roast a fresh batch whenever pumpkins are in season.
